


More Information
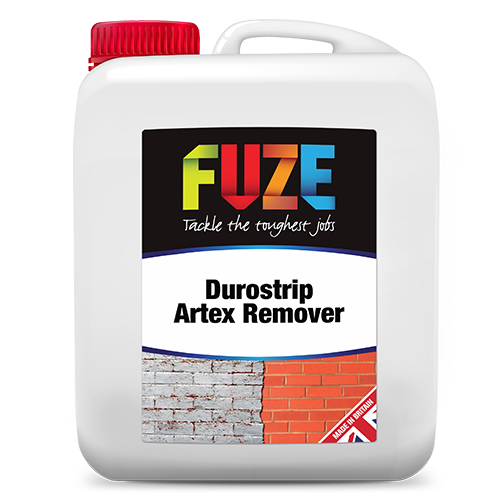
Safely remove Artex with Durostrip Artex Remover. Converts Artex into a gel for easy scraping, even with asbestos. Non-toxic, biodegradable, and safe for walls and ceilings.
Professional Quality Artex Remover – Safe & Effective Solution
The Ultimate Artex Removal Product
Removing Artex safely and effectively requires the right product to minimise risks and effort. Durostrip Artex Remover is a professional-grade solution designed to convert Artex into a gel that can be easily scraped off, even if it contains asbestos. Its unique formula ensures safe removal without compromising the underlying plaster, making it ideal for both walls and ceilings.
Why Choose Durostrip Artex Remover?
-
Converts Artex into a removable gel – Safely softens Artex for easy scraping.
-
Asbestos encapsulation – Traps any asbestos particles, preventing them from becoming airborne.
-
Won’t wet underlying plaster – Minimises damage during removal.
-
Low evaporation rate – Prevents drying out too quickly, allowing for extended working time.
-
Thixotropic formula – Thick consistency clings to vertical surfaces for improved coverage.
-
Non-toxic, non-flammable, and non-corrosive – Safe to use indoors.
-
Biodegradable – Environmentally friendly.
How to Use Artex Remover
Step 1: Surface Preparation
- Ensure the work area is well-ventilated.
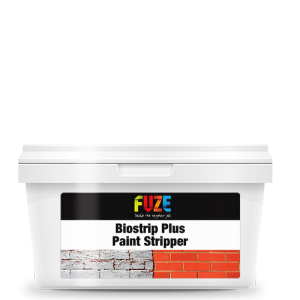
- If the Artex is painted, first remove the paint using Biostrip PLUS
Step 2: Apply the Artex Remover
- Using a brush, apply a generous layer of Durostrip Artex Remover over the affected area.
- Ensure even coverage, especially on textured or thick layers of Artex.
Step 3: Allow Time for Activation
- Leave the remover to penetrate and soften the Artex.
- This process can take several hours, depending on:
- The thickness of the Artex.
- The ambient temperature.
- To prevent drying out, cover treated areas with polythene dust sheets and leave overnight if necessary.
Step 4: Scrape Off the Artex
- Once softened, gently remove the Artex with a scraper.
- Work carefully to avoid damaging the underlying plaster.
- If needed, reapply for any remaining patches.
Step 5: Dry and Refinish
- Allow the surface to dry thoroughly before refinishing.
- Once dried, proceed with plastering, painting, or wallpapering as desired.
Coverage & Application Tips
- 500ml covers approximately 2-3 square meters.
- Works effectively on both walls and ceilings.
- For best results, apply in warm conditions to speed up softening.
Pro Tip:
Let Durostrip Artex Remover do the hard work! Cover treated areas with polythene dust sheets to prolong activation time, making removal easier.
Things to Consider Before Removing Artex
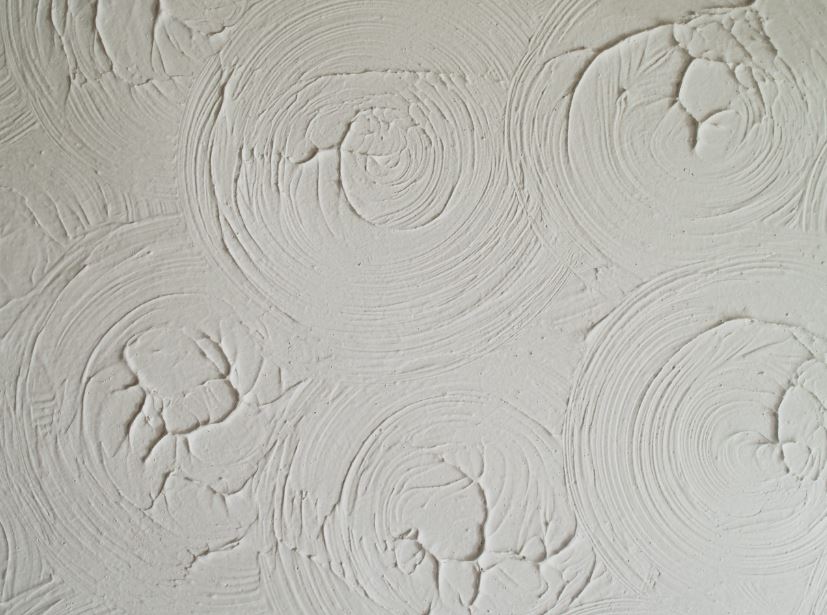
- Artex removal is a physical task, requiring patience and effort.
- If asbestos is present, consider consulting a professional or following HSE guidelines (HSE Asbestos Safety).
- Proper waste disposal is essential—check with your local authority for regulations.
 Durostrip Artex Remover is the ultimate solution for safe, efficient Artex removal. Get started today and achieve a smooth, paint-ready surface with minimal hassle!


louiseehughes (verified owner) –
After visiting the usual DIY stores for artex remover & nothing at all suitable for our heavy icing effect ceilings I came across this product through the internet. I can honestly say it does the job, easy to apply & effortless to remove.